Pixel Stretch Effect: Photoshop, Photopea, or Free in Your Browser
9 min read
The pixel stretch effect in Photoshop is a one-pixel selection dragged across the canvas with Free Transform, so a single column of colour becomes a long streak. Photopea does it the same way for free. If you want the effect on a product photo without either program, Pixel Stretch from VOIDD does the cutout, the bands and the export in your browser.
That is the whole trick in one paragraph. The rest of this guide walks through the Photoshop version properly, the Photopea version for people without a subscription, the three places every tutorial goes wrong on a product shot, and the browser route that skips the layer work altogether.
What is the pixel stretch effect?
Pixel stretch is a glitch-art technique where one row or column of pixels is copied and extended across the image, turning an edge into a smooth streak of colour. On a product photo it reads as a motion trail. On a portrait it reads as a smear or a melt. The result depends entirely on which pixels you stretch and which direction you pull them.
The effect became popular in album art and poster design around 2017 and never left, because it is cheap to make and hard to mistake for anything else. A sneaker with its heel pulled into a two-metre streak looks fast. A bottle stretched upward looks like it is launching. Nothing in the photo moved. Your eye supplies the motion.
Two versions exist. The classic version stretches raw background or subject pixels and leaves the subject blended into the streak. The product version keeps the subject perfectly sharp on top and stretches a copy behind it. The second is the one that sells things, and it is the one this guide builds.
How do you make the pixel stretch effect in Photoshop?
Select one pixel-wide column at the edge you want to stretch with the Rectangular Marquee tool, copy it to a new layer, then press Ctrl or Cmd plus T and drag the transform handle across the canvas. The single column repeats into a streak. Put that layer under a cutout of the product and the product reads as moving.
Here is the full Photoshop sequence.
- Duplicate the background. Ctrl or Cmd plus J. Never stretch the original.
- Cut out the product. Select Subject, then Select and Mask to clean the edge. Put the product on its own layer at the top of the stack. This is the step that makes or breaks the result and it is the step most tutorials rush.
- Choose the stretch column. Pick the Rectangular Marquee, set the width to 1 pixel in the options bar, and click on the edge of the product that faces away from the direction of travel.
- Copy to a new layer. Ctrl or Cmd plus J again, so the one-pixel column sits on its own layer between the background and the product.
- Free Transform. Ctrl or Cmd plus T, grab the side handle, and drag. Hold Shift if your Photoshop version constrains proportions by default, because you want the width to change and the height to stay.
- Fade the tail. Add a layer mask and pull a black-to-transparent gradient from the far end of the streak toward the product. A trail that stops dead looks like a bar.
- Blend. Set the stretch layer to Normal at 85 to 100 percent. Multiply darkens it into the background, which sometimes helps on light backdrops.
The whole thing takes ten minutes once you have done it twice. The catch is that every change to the trail means reselecting, retransforming and remasking, and the second trail means doing it all again on a new layer.
Can you do the pixel stretch effect in Photopea for free?
Yes. Photopea runs the same workflow in a browser tab with no subscription: Rectangular Marquee at 1 pixel, copy to a layer, Free Transform with Ctrl plus T, drag the handle, mask the tail. The shortcuts match Photoshop almost exactly, and PSD files open and save without conversion.
Three things differ in practice.
The cutout is weaker. Photopea has a Magic Cut and a Select Subject, but both are rougher than Photoshop's on fine edges like straps, hair and glass. Expect to hand-clean the mask with a brush.
Large files get slow. A 4,000-pixel product shot with four stretch layers will lag on a laptop, and the browser tab can drop the file if you switch away for long enough. Save the PSD early.
The ads. Photopea is free because it shows ads in the sidebar. Fine for one job, tiring for a batch of twenty product shots.
For a designer who already thinks in layers, Photopea is a fair substitute. For a store owner who wants one hero image by tonight, it is still a full editor to learn.
Where does the pixel stretch effect go wrong on product photos?
Three mistakes account for nearly every bad pixel stretch on a product shot: the trail leads the product instead of trailing it, the product edge is soft so the subject melts into the streak, and the stretch pulls background pixels rather than the product's own edge, which produces a coloured bar with no connection to the object.
Take them one at a time.
Wrong direction. The trail belongs on the side the product came from. A shoe travelling left has its trail on the right. Reverse it and the image looks like a printing fault. Decide the verb before you select a column: falling, thrown, launched, drifting. Then put the trail where that verb says it goes.
Soft cutout. If the mask around the product has a two-pixel halo, the product blends into the trail and the sharp-thing-plus-streak grammar collapses into a smear. Spend the time on the mask. Everything else is fast.
Background column. Clicking one pixel outside the product edge stretches the backdrop, not the object. You get a grey bar next to a shoe. Zoom to 400 percent before you click, and take the column from inside the product's last row of real pixels.
There is a fourth, quieter problem. Photoshop's stretch is linear: the same colour for the full length. Real motion trails fade and slightly curve. The gradient mask fixes the fade. The curve is where desktop editors run out of road, because Free Transform pulls in a straight line.
How do you get a pixel stretch effect without Photoshop?
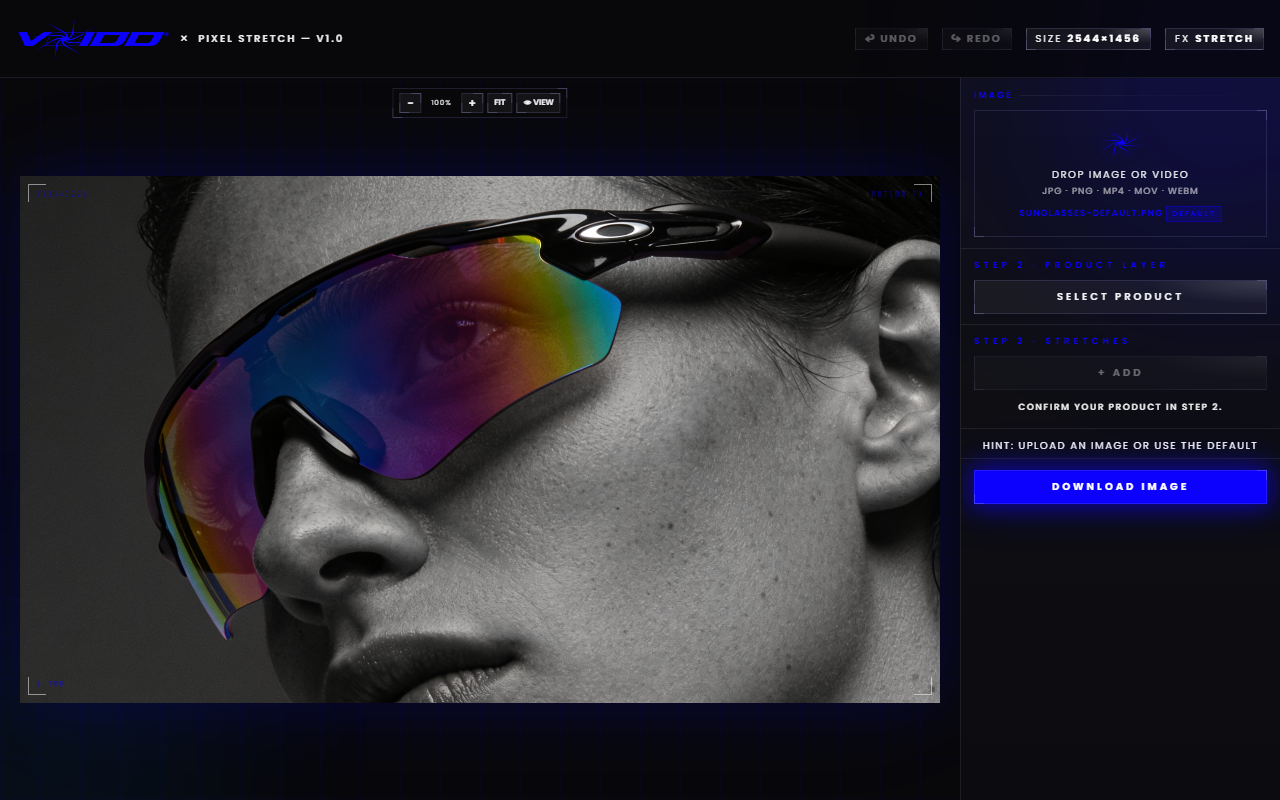
Open the free Pixel Stretch generator, upload a product photo, click Select Product for a one-click cutout, add a stretch band on the trailing edge and drag it out. The band pulls the product's own edge pixels into a trail. Export a full-resolution PNG with no watermark.
The steps in order.
- Upload. JPG or PNG up to 20MB. The tool downsizes very large photos on import so the browser stays quick.
- Select Product. One click runs the cutout. The subject lifts onto its own layer with the background behind it, the same stack you would have built by hand in step two of the Photoshop method. Refine Edges cleans the mask if a corner clips.
- Add a stretch band. Place it on the side facing away from the motion. The band samples the product's edge, never the backdrop, so the grey-bar mistake cannot happen.
- Drag the length. Start at about a third of the product's width. Push further only if the product should read as falling or fired. Presets cover the common looks if you would rather not tune by hand.
- Curve it if you want. A band can bend along a bezier spine with handles, the same pen-style handles Photoshop uses for Warp, which gives you the arc that Free Transform cannot.
- Export. Enter an email and the full-resolution PNG lands in your inbox. No account, no watermark.
Each band is its own layer and only the active band answers to your mouse, so adjusting one trail cannot disturb another. That is the layer discipline from the Photoshop method, done for you.
Photoshop, Photopea or browser tool: which should you use?
Use Photoshop if you already own it and need the stretch inside a larger composite with type, colour grading and print output. Use Photopea if you want that same control for free and can tolerate a rougher cutout. Use the browser generator if the job is a product photo that needs to look like it is moving, today, with no learning curve.
A plain comparison.
- Cost. Photoshop is a subscription. Photopea is free with ads. VOIDD Pixel Stretch is free with no watermark.
- Install. Photoshop is a desktop app. Photopea and Pixel Stretch run in the browser.
- Product cutout. Photoshop is best in class. Photopea needs manual clean-up. Pixel Stretch is one click, with a refine step if you need it.
- Stretch control. Photoshop and Photopea are linear only. Pixel Stretch does linear, curved and preset trails.
- Multiple trails. Photoshop and Photopea need a new layer for each. Pixel Stretch uses bands, one per layer, handled for you.
- Learning curve. High for both editors. Minutes for the browser tool.
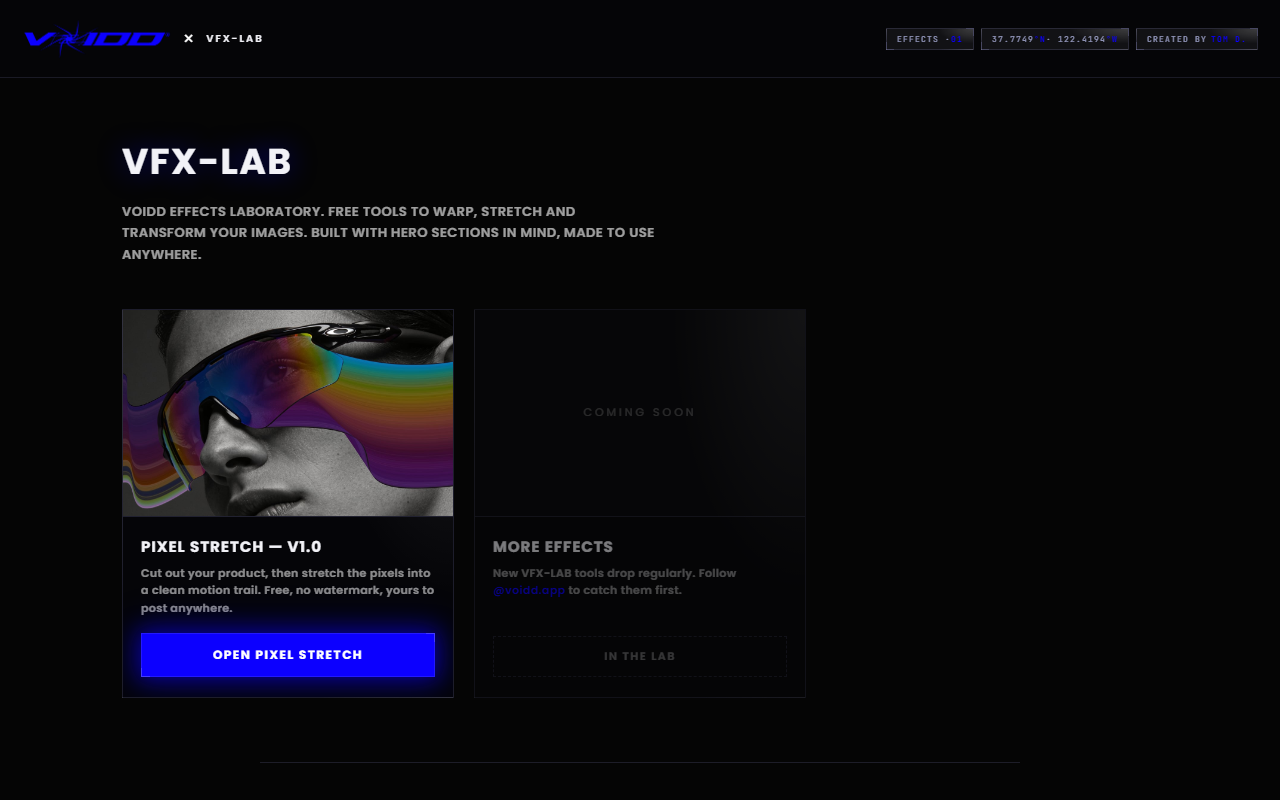
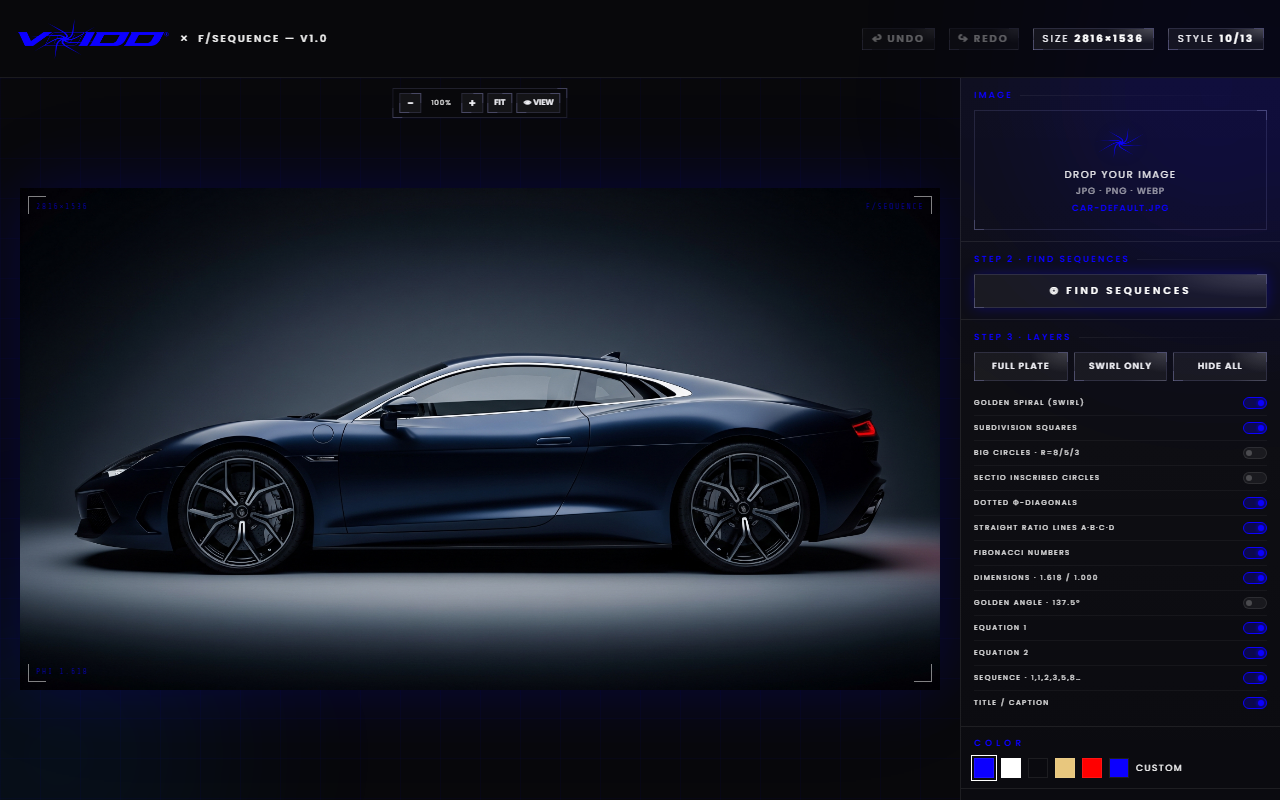
The honest limit of the browser tool is scope. It does one family of effects on one image. It will not lay out a poster, set type or colour-grade a campaign. For that, finish the trail in the browser, export the PNG and take it into whichever editor you like. The other free tools on VFX-LAB cover a detection HUD overlay, a toy-brick mosaic and a golden-ratio composition check, all in the same no-install format.
Why does this matter for a Shopify hero section?
A hero image that implies motion holds attention longer than a static product on white, and a pixel stretch is the cheapest way to get that implication from a photo you already have. VOIDD built the generator because its animated SupaHero sections needed product shots that felt fast, and hand-building trails in Photoshop for every variant did not scale.
If the trail is going into a hero, keep the product sharp and the trail long enough to read at banner width. A still trail reads as a design choice; when you want the motion to actually run on the page, that is what the animated sections do inside the Shopify theme, no code needed.
For the broader question of making any product read as moving, with or without a trail, the product motion guide covers the other techniques. If you are weighing browser tools against desktop software more generally, the free VFX software guide draws the line between the two, and the motion trail effect tool guide goes deeper on trail length, direction and where the image goes.
FAQ
Is there a free way to do the pixel stretch effect without Photoshop? Yes. VOIDD Pixel Stretch is a free pixel stretch generator that runs in any modern browser. Upload a product photo, click Select Product, drag a stretch band and export a full-resolution PNG. No download, no account, no watermark.
How do you make a pixel stretch in Photoshop? Select a one-pixel column with the Rectangular Marquee, copy it to a new layer with Ctrl or Cmd plus J, press Ctrl or Cmd plus T and drag the side handle across the canvas. Mask the far end with a gradient so the trail fades, and keep a clean cutout of the product on the top layer.
Does the pixel stretch effect work in Photopea? Yes. Photopea uses the same shortcuts and the same marquee-and-transform workflow as Photoshop, free in a browser tab. Its automatic cutout is rougher, so budget time to clean the product mask by hand.
Which direction should a pixel stretch trail go? Behind the product, on the side it came from. A product moving left gets its trail on the right. A trail that leads the object looks like an error rather than motion.
Can a pixel stretch be curved? Not with Free Transform, which only pulls in a straight line. In VOIDD Pixel Stretch a band can follow a bezier curve with handles, which gives a trail an arc instead of a bar.